MOUNTING AN ODIN: A COMPLETE GUIDE
The objective of this guide is to give you a comprehensive overview of every step involved in mounting your ODIN LPVO, from mounting it to testing it with your rifle. Most of the common questions and concerns from customers regarding this procedure are covered in the following paragraphs. However, if you have any further doubts or uncertainties, please refer to the product manual, which can be found on Gogunnr’s official website.
Also, pay particular attention to the NOTE sections: they provide specific information that may be peculiar to our brand or the situation in which you use your rifle. That said, let's get started.
PRE-GAME: PUTTING EVERYTHING TOGETHER
Tools You Will Need (Not Included in the Pack)
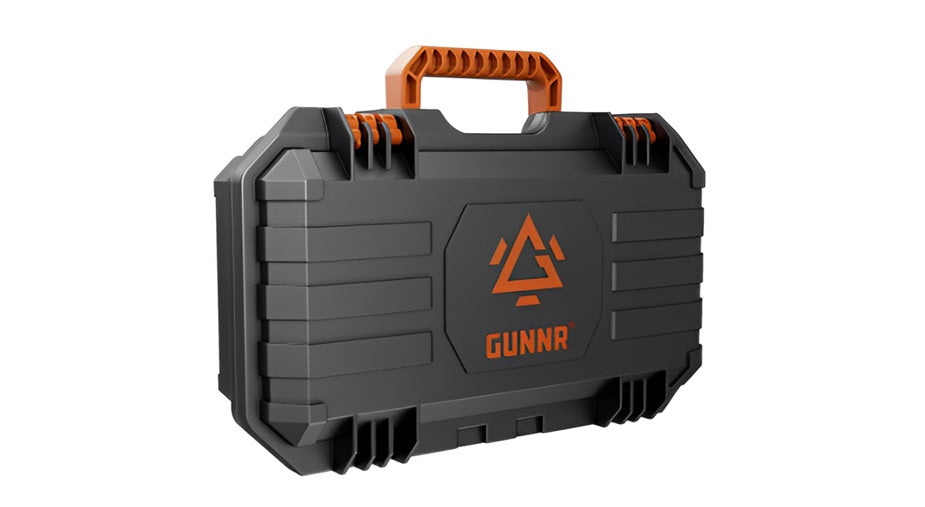
There are not many tools you will need that GoGunnr does not provide in the Runes Case. Make sure you have the following:
- A Torque Wrench
- Reticle Leveling Tool(s) (such as feeler gauges or bubble levels and a plumb bob)
1. Select the Right Mounting Rings
The first rule when mounting any rifle scope is to use a mount that fits properly. A proper mount ensures that your setup remains sturdy and stable, allowing you to take all your shots with unshakable accuracy.
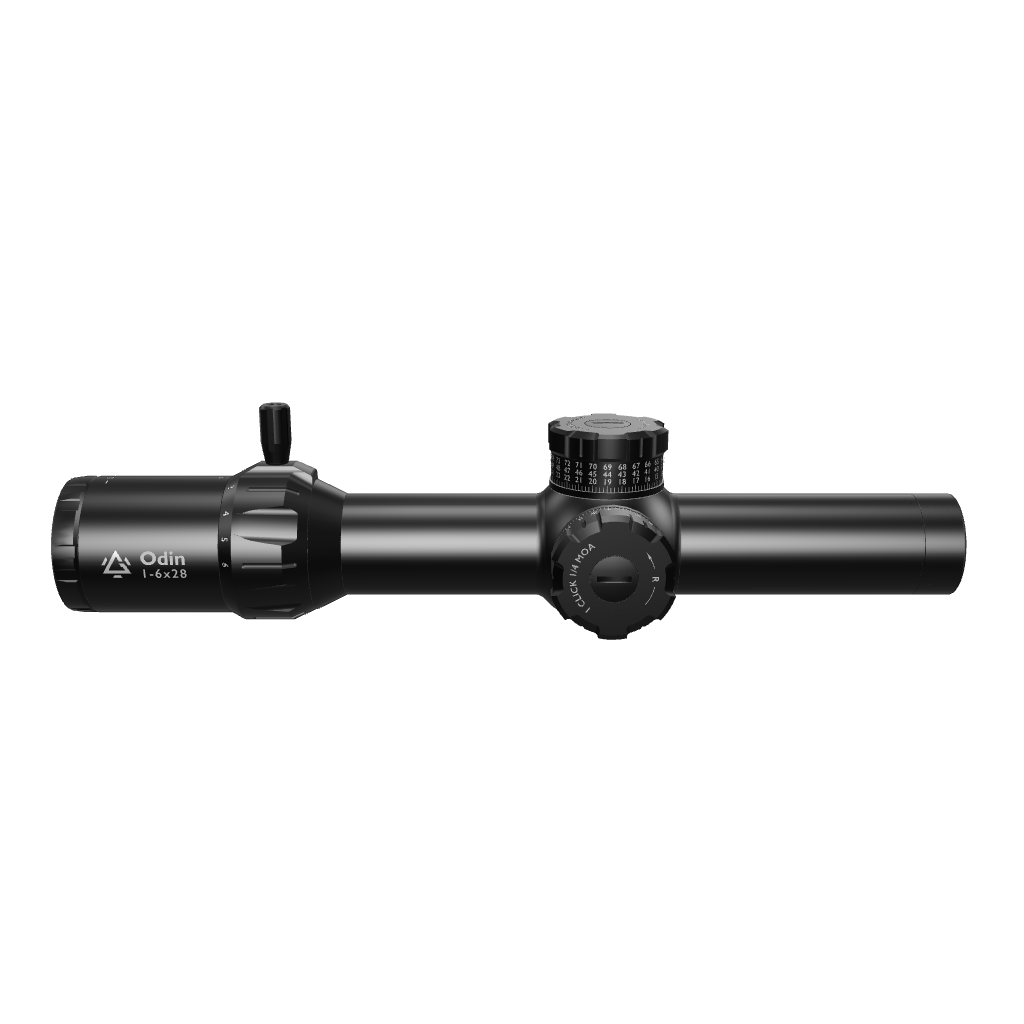
With Odin scopes, figuring out the proper mount should not be an issue. First, all three Odin scopes have a main tube length of 34 mm. A mount that fits one should fit all. Also, Gogunnr provides a top-grade Sleipnir 30-34 mm Cantilever mount, which is reliable and durable. This means your Sleipnir mount will work perfectly, irrespective of the model you get.
What Is Special About Gunnr’s Cantilever Mounts?
First, Gunnr’s mounts are made of 7075 aluminum alloy, the same sturdy material used on aircraft structures such as wings and fuselages. These mounts are resilient and can withstand any environment.
Moreover, they weigh just 189 grams, so mounting them will not significantly increase the weight of your setup.
They are quite easy to mount, and you can mount them pretty quickly, even for a first-timer.
GETTING STARTED
With your Sleipnir mount in hand, you are ready to start mounting. Follow the instructions below:
1. Select a Proper Height to Mount
It does not suffice to mount the Odin scope above your rifle. You must select a proper ring height to ensure that there is appropriate clearance between the riflescope and any part of the rifle.
There will likely be recoil when you start firing. Adequate clearance prevents the scope from coming in contact with your rifle, which could result in damage.
What is the Appropriate Height?
There is no standard measure for the proper height to elevate your mount. Some shooters recommend 1.5-3 inches, but it may vary depending on the type of rifle, type of scope, or personal preference.
In any case, select the height that is safe and allows for a comfortable head position. It must be comfortable enough for you to be able to hold it until you are done.
Take note, too, that the height of the rings does not influence your shooting experience. The rings will not obstruct your view or have any adverse effect on your accuracy, overall range, or performance.
Ensure that the protruding ring on the bracket is facing the barrel of your rifle and not the stock.
STEP 1: ATTACH THE SCOPE
This step is important because you are laying the foundation for your entire setup. If successfully completed, the scope will stay firmly in place.
- Start by placing the mounting bracket on the rail of your rifle. Again, make sure the protruding ring is facing the barrel and not the stock.
- Then proceed to affix the mounting bracket to the rail. If the wrench you are using does not fit, feel free to swap until you find one that does the job.
- There are 8 torx tools on the mounting bracket. Use the torx wrench provided in your package to remove all of them.
- Proceed to carefully place the scope on the lower halves of the mounting rings.
- Then loosely attach the torx bolts to their holes in the mounting rings. Make sure you do not fasten the bolts too tightly-at least for now. You will not tighten them until the reticle is leveled.
- Set the riflescope to its highest magnification.
- Move the rifle scope fore and aft in the rings until you can achieve a full, unobstructed view down the scope.
- Without disturbing the fore-aft placement, rotate the riflescope until the reticle is level. You will have to use your leveling tools (feeler gauges or bubble levels) and a plumb bob to aid in this process.
- After leveling the reticle, tighten and torque the bolts to their stated torque values.
- Fix the throw lever to the magnification ring.
Note: Always torque the bolts down to their stated torques.
STEP 2: SET THE BATTERY
Gunnr provides a formidable CR2032 battery to go with your scope. This section will instruct you on how to fit it in and get it ready for use.
- Remove the battery cap by hand, and insert the provided battery + side up.
- Now, replace the cap and turn it clockwise to retighten the cover.
Notes on Battery Usage
The illumination on any Odin scope has six levels of brightness. To increase the brightness from one level to another, all you need to do is turn the illumination turret away from you.
When not in use, turn the illumination off. Even when you use it, be efficient with your illumination and try not to use more than necessary for the environment you are shooting in. Using less will extend your battery life, and your eyes won’t have as much trouble adjusting each time you look back and forth from your scope.
STEP 3: MAKE INITIAL ADJUSTMENTS
The objective for making initial adjustments is not to immediately achieve accuracy. You just want to know where you stand and how much work needs to be done.
- Remove the lens cover on the ocular lens to expose the diopter adjustment ring (see the photo)
- Then point your weapon at a safe light object or background.
- Quickly glance through the scope and see if its reticle comes clearly and sharply into focus. If it does not, turn the diopter adjustment ring slightly.
- Continue your adjustments and observations until the reticle does appear in immediate and sharp relief.
Adjusting Magnification
Use the magnification adjustment ring to change the magnifying power.
Confirm that the reticle changes in size as you turn the ring.
Magnification Using the correct magnifying power is paramount to your shooting.
If unsure, consult a gunsmith or an experienced shooter.
STEP 4: HANDLING ILLUMINATION
- To adjust the levels of illumination, turn the illumination turret.
- The reticle should light up and turn off periodically as you continue to turn the turret.
- Align the mark with the dot on the turret to turn the illumination off.
Notes on Illumination
Remember to use the lowest illumination suitable for your environment. This is an effective way to extend your battery.
STEP 5: BORE SIGHTING
Initial bore sighting of the riflescope will save time and money at the range by roughly aligning the scope to the rifle.
This can be done in several ways, either by using a mechanical or laser bore sighter according to the manufacturer’s instructions or by removing the bolt and sighting through the barrel. Go to your range or another safe and legal location for shooting practice.
Place a target at the primary distance you want to use for your scope.
Sight through the bore at a target approximately 100 yards away.
NOTE
Sighting from a distance of 100 yards is standard for rifles. It will help to have larger, high contrast target to focus on as it can be difficult to pick up smaller targets through the bore of the rifle.
Move the rifle and rest until the target is visually centered inside the barrel. With the target centered in the bore, make the windage and elevation adjustments until the reticle is also centered on the target. You may notice the reticle travels in the opposite direction as listed on the turrets. This is completely normal. (Optional) On windy days or in locations where shooting ranges are unavailable or cost-prohibitive, a laser bore sighter (not included) can be used instead.
NOTE
Align the sight's POA with the laser dot by following its separate instructions.
The laser can only provide rough and inexact alignment.
The laser follows a straight path rather than the arc of an actual bullet and even the slightest misplacement creates noticeable divergence at long range.
STEP: 6 Final Sight-in
After the riflescope has been bore-sighted, the final sight-in should be done at the range using the exact ammunition you expect to use while hunting or shooting competitively. Sight-in and zero the riflescope at the preferred distance. 50 or 200 yards are the most common zero distances for this optic.
Following all safe shooting practices, fire a three-shot group at the target. Use the scope’s elevation and windage turrets to align the reticle with the bullet’s point of impact (POI).
VERTICAL ALIGNMENT
To adjust the scope’s vertical alignment, Vertical Alignment Pull the elevation turret up. Turn the elevation turret. Turn it clockwise if the POI on your target is too high and needs to be lowered. Turn it counterclockwise if the POI on your target is too low and needs to be raised. Press the turret to lock the zeroed vertical alignment.

NOTE
Each click will be ¼ minute of angle (MOA), with each MOA measuring almost exactly one inch at a range of 100 yards (2.9 cm at 100 m).
STEP 7: HORIZONTAL ALIGNMENT
To adjust the scope’s vertical alignment:
Pull the elevation turret up.
Turn the windage turret.
Turn it away from you (clockwise) if the POI is too far to the right.
Turn it towards you (counterclockwise) if it is too far to the left. Press the turret to lock the zeroed vertical alignment.
Again, each click will be ¼ minute of angle (MOA), measuring almost exactly one inch at a range of 100 yards (2.9 cm at 100 m).
You may notice the reticle travels in the opposite direction as listed on the turrets. This is completely normal.
STEP 8: SETTING UP ZERO STOP
The zero stop was set at the factory to be lower than the optical center. That’s why the zero of the turrets can be turned past the arrow on the scope. For a larger leeway of adjustment, turn the inner ring of the turret counter-clockwise by 1.25 turns. a. b. c. d
Use the turret cap tool to loosen and remove either turret cap.
Using the correct tool, turn the inner ring of the turret as indicated by the arrow inside the turret cap. Stop turning when you hear a crisp click, indicating the turret has been turned to its zero position.
Replace the removed turret cap, aligning its “0” with the arrow on the scope. Then, replace and tighten the removed turret cap, making sure not to turn the turret while installing it.
Repeat for the other turret.
You're Good to Go!
In eight simple steps, you have been instructed on all the basics of your LPVO. By now, you should be ready to mount, set up, and get going with your rifle scope. Remember, for further clarifications, you can refer to your product manual or get in touch with Gogunnr’s customer service team. As always, Gunnr wishes you a happy and successful adventure!


