SIMPLE STEPS TO PROPERLY ZERO YOUR LPVO
Knowing how to zero your optic is one of those essential skills that every shooter would do well to master. You simply cannot forever rely on someone else to do it for you. Fortunately, the zeroing process is not all that complicated if you own an LPVO. It does take time, care, and patience to perfect the zero to the point where accuracy is maintained across its entire magnification range, but if someone were to break down the process into simple steps, providing clear instructions and explanations at each stage, you would find it quite easy to master. That is precisely what this blog will do. Let's start from the beginning.
WHAT DOES IT MEAN TO “ZERO” A GUN SCOPE?
Before turning our attention to the particularities of zeroing an LPVO, it is important to discuss what exactly it means to “zero” an optic. It would be great to master the instructions and get the process done with, but it is even better to understand what is being done and why it must be done in that particular manner.
There are two phrases to begin from: “point of aim” and “point of impact”. The point of aim appears at the center of the reticle, and it tells you the exact location you are aiming at. The “point of impact” is where the bullet actually hits. The two are not the same. In other words, where you are aiming is not necessarily where the bullet will hit. This is why zeroing is crucial. If the “zero” is off, you cannot achieve accuracy.
To “Zero,” a gun scope is the process where you adjust the scope’s settings so that the point of aim matches and perfectly aligns with the bullet’s point of impact. Let’s break that down into simpler words: zeroing is where the shooter adjusts the settings on their optic to ensure that the point they are aiming at (point of aim) is aligned with the point where they want the bullet to hit (point of impact).
SETTINGS? WHAT SETTINGS?
The major settings on an LPVO are windage and elevation points, and being able to manipulate and operate both these dials is key to successfully zeroing the scope. But first, let's explore what they are:
Elevation and Windage Settings
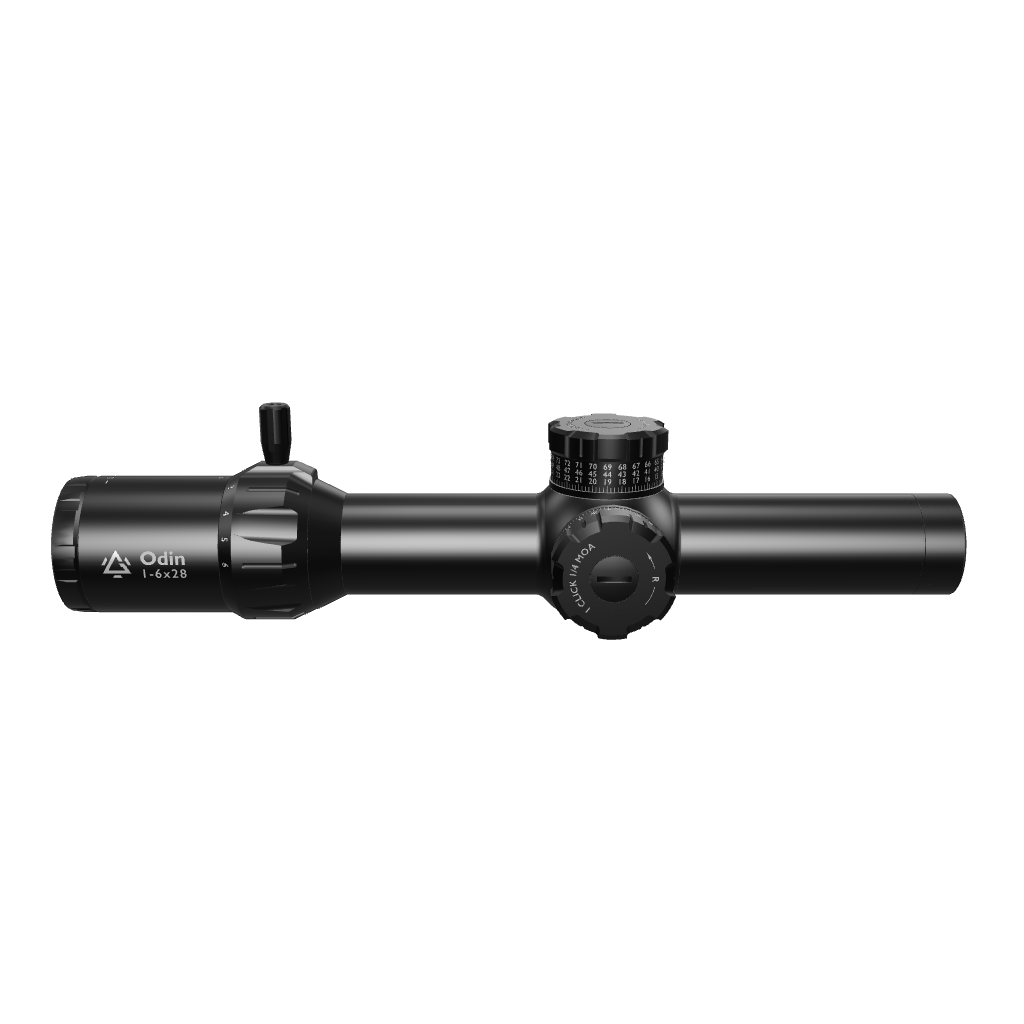
When looking through the scope, the elevation knob is located directly on the top. You can twist it to adjust the reticle up or down. The windage knob, on the other hand, is located to the left of your scope (we’re assuming you are still looking through it). Its role is to adjust the reticle left or right.
WHY ARE THEY SO IMPORTANT?
The moment you fire a bullet, it is instantly caught up in a battle against the earth’s gravitational pull. The speed and momentum of the rifle prevent it from falling straight, and it prevails for a while, but the further the target, the stronger the air resistance. It begins to drop. This explains why long-distance accuracy is hard to attain.
The wind has the same effect. While gravity pulls downwards, the wind can cause the bullet to shift to the left or right (depending on the location). Over long distances, you might find the bullet hitting the left or right of your point of aim.
Turning the elevation turret moves the reticle up or down, and helps you compensate for the bullet's inevitable drop due to gravity. For example, if your shots keep hitting below the target, you would adjust the elevation turret to move the reticle down, which raises the point of impact on the target. Turning the windage turret moves the reticle left or right(it depends on the direction go which you turn it). For example, if your shots are hitting to the right of your target, you would adjust the windage turret to move the reticle to the right, so your next shots would hit closer to the center.
So, the whole process of zeroing is just you adjusting the windage and elevation settings to ensure that your shots land exactly where you aim, regardless of distance or environmental conditions. This is why these turrets are the most important. Now let’s get to the process itself
STEPS TO ZERO YOUR LPVO
1. Check your Scope Type
Not all LPVO optics are the same. “LPVO” simply stands for Low-Power Variable Optic,” which is an umbrella term and it describes a category of optics that may vary according to brand, magnification, and reticle size. While the zeroing process may not differ significantly, it is important to start by checking which of the following categories your LPVO falls under, and it is all about the location of the reticle:
First Focal Plane (FFP) LPVOs: If your reticle is located in the first focal plane, and it changes in size at different levels of magnification, then you have an FFP.
Second Focal Plane (SFP) LPVOs: If it is located in the second focal plane, and does not change with variation in level of magnification, then it is an SFP.
These different LPVOs have different retinas and could be of different brands; therefore, there might be slight variations in their zeroing processes. However, the following steps generally apply.
2. Determine your Zero Distance
To monitor your progress and see if your adjustments are working, you need to pick a fixed distance from the target and fire consistently. This is your Zero distance. The distance you choose for your zero depends on what you intend to use the rifle for, or even the type of reticle you have. However, the most common zero distance is 100 yards: most ranges zero at this distance, and it is usually ideal for BDC (Bullet Drop Compensation) reticles.
3. Get Into A Stable Firing Position
Any movement or instability can affect the consistency of your shots and lead to inaccurate adjustments. So, set up on a stable platform like a shooting bench. Some people use sandbags, bipods or shooting rests to stabilize their rifles. Anyhow you do it, make sure the rifle is stable.
Proper Body Alignment: Make sure your body is aligned with the rifle and your stance is firm but comfortable enough to manage recoil and maintain consistency shot to shot consistency.
4. Mount and Leveling the LPVO
If the scope is not mounted correctly, your zero will not hold, and your shots will be off-target. Gunnr has made provided a detailed guide on mounting your LPVO which you can check out if you need further direction on this step. The scope must be mounted securely and level
5. ADDRESS PARALLAX
If you have done everything right up until this point, but your reticle appears slightly blurry, do not panic. This is usually because of parallax, and you should be able to take care of it without any big issue. Parallax happens when the reticle and the target are not focusing on the same plane. The result is that the position of the reticle seems to shift (in relation to the target) as you move your head.
Before adjusting for parallax, make sure that the blurriness is actually a result of parallax and not because your reticle is out of focus. Look for a white background, or even the sky above and look through your reticle. It should be perfectly clear. If not, take it down and adjust the focus dial. Adjust the dial like you would a binocular or a camera, until it is focused and clear. Then remount and look again. If the target is still not in focus, it is the parallax.
The parallax knob is located on the side of the scope body, either on the left or right side (depending on your model). Proceed to adjust the parallax dial until and bring until your object is clear and crisp. Adjusting for parallax also ensures that the reticle remains accurate despite slight head movements.
6. INITIAL SHOT GROUP
Now you are ready to fire. Take note that the objective of the first few shots is to assess the current state of affairs and determine the amount of adjustment that would be needed. Do not be too disappointed if these test shots are not accurate.
First Five Rounds: Start by Shooting a five-round group at the target. Do not make any adjustments yet.
Analyzing Shot Group: Note where the group is hitting relative to your desired target, then measure the shot group to determine necessary adjustments. For a mil scope, use centimeters (e.g., each click on a mil scope at 100 meters is one centimeter).
7. Adjust the Main Settings
Now that you know where your shots are landing, you have a good measure of how far you have come, and what is left to do. It’s time to make those necessary adjustments to bring the point of impact in line with your point of aim.
Understanding MOA/MIL Adjustment
At this point, you know what needs to be done. It is time to adjust for windage and elevation.
It is likely that your LPVO allows for adjustments in either MOA (Minutes of Angle) or MILs (Milliradians). At 100 yards, each click of the turrets will move the point of impact 1/4 MOA (roughly 1/4 inch) or 0.1 MIL (roughly 1/10 inch at 100 meters).
This is not really as complicated as it sounds. Move the turrets a couple of times and you will get a feel of the changes being made. For example, if your shots are 2 inches low at 100 yards and your scope adjusts in 1/4 MOA per click, you would raise the elevation turret for 8 clicks.
8. Fire Another Group and Fine-Tune
After making your initial adjustments, fire another group of 3-5 shots to see if your point of impact has shifted to match your point of aim.
Re-Check Your Grouping (If Necessary)
If your group is now centered on the target, then hurray! Your LPVO is zeroed. If not, then you should at least be closer. You need to make further adjustments and repeat the process until your shots are consistently hitting the point of aim. Small adjustments may still be necessary, especially if you’re working at longer distances where even slight errors can have a significant impact.
Notes on Zeroing at Multiple Magnifications
This is where the complication of an LPVO comes in. With most other scopes, you just have to confirm zero at a fixed magnification level. With an LPVO, you must confirm that your zero holds at different magnification levels, especially if you plan to switch between 1x and higher magnifications during use.
Start by confirming your zero at the lowest magnification (1x). Then, switch to a higher magnification, such as 6x or 8x, and fire another group to ensure the point of impact remains consistent.
Adjust if Necessary: If you notice any shift in the point of impact when changing magnification, you may need to make minor adjustments. This step is crucial for ensuring accuracy across the entire range of the LPVO.
Confirm Your Zero
Once you’re satisfied with your zero, it’s time to confirm that it works under real-world conditions. As much as possible simulate the different positions you will likely be shooting from. Use different shooting aids, and possibly even at different distances.
If you followed the steps above, you should be good to go.
LOOKING FOR A SCOPE?
Gogunnr is a highly trusted, reliable rifle scopes and other accessories provider. With several years of experience in the field, Gogunnr has an impressive array of high-quality but affordable LPVO scopes from which you can choose. Check out the Gunnr website for your LPVO scopes, and for more rifle protection tips and information, check out more blogs on the website.


