How to Sight in a Rifle Scope: 8 Steps
Sighting in an optic may vary slightly depending on the magnification range of your optic or general use of the optic. However, the basic principles of how to sight in a scope remain the same: adjust the windage turrets (left/right) and elevation turrets (up/down) to align the point of aim (reticle) with the point of impact (bullet strike).
Different types of scopes have unique features that can affect the zeroing process. So, it is never a waste of time to learn the basics of sighting in your rifle optic.
Here are some important guidelines to properly sight in your rifle scope.
How to Sight in A Rifle Scope
In simple terms, sighting in a rifle means adjusting the scope to ensure the bullet lands exactly where you aim. To achieve that, you must align the point of aim (where your reticle is) with the point of impact (where the bullet actually hits) at a specific distance.
Sighting in allows you to account for and overcome external factors like wind drift and ballistic factors, which may cause your shots to be inaccurate or inconsistent.
Step 1: Gather Your Equipment
Before you start sighting in your rifle scope, make sure you have the right tools available. In addition to your rifle and the scope itself, here are some tools you might need:
- A stable and reliable shooting rest or bipod
- A paper target with a visible bullseye
- All the ammo you'll actually use (different rounds have different ballistics)
- A bore sighter for quicker alignment (optional)
- A wind meter to account for wind adjustments (optional)
- Screwdriver or turret tool
- Spotting scope or binoculars
Step 2: Set Up Your Shooting Position
Choose the Right distance and set up your shooting rest
Some shooters consider 50 yards the perfect distance for zeroing an optic: the bullet drop is manageable, and it is close range enough. Long-range shooters (500+ yards) zero at 100 yards and adjust for longer distances.
Most shooters use AR-15s or similar rifles, so it is common to zero your optic at 25 yards and confirm at 100 yards.
-
If you're using an AR-15 or similar rifle, start at 25 yards and later confirm at 100 yards.
-
For bolt-action rifles or long-range setups, start at 50 or 100 yards.
Set Up a Stable Shooting Rest
You can use heavy, solid objects like a bench with sandbags, a bipod, or a rifle sled to keep the rifle steady.
Step 3: Boresight your Rifle
Boresighting a rifle is optional, but it is necessary and saves time. Boresighting your scope will let you get close to zero before you start firing shots. The process of boresighting a rifle can vary slightly depending on bolt-action rifles and non-removable rifles.
Here are some guidelines on how to boresight a rifle.
Boresighting a Bolt-Action Rifle
- Remove the bolt and look down the barrel.
- Center the target in the bore while keeping the rifle steady.
- Adjust the scope’s windage and elevation turrets without moving the rifle until the reticle is aligned with the target.
Boresighting a Non-Removable Bolt Rifle (AR-15s, etc.):
- Use a laser boresighter in the chamber or at the muzzle.
- Adjust the scope reticle to match the laser dot at 25 yards.
Bear in mind that boresighting does not replace shooting. However, boresighting your rifle will help you get closer to zero before firing live rounds.
It saves time and ammo and prepares you for the next step.
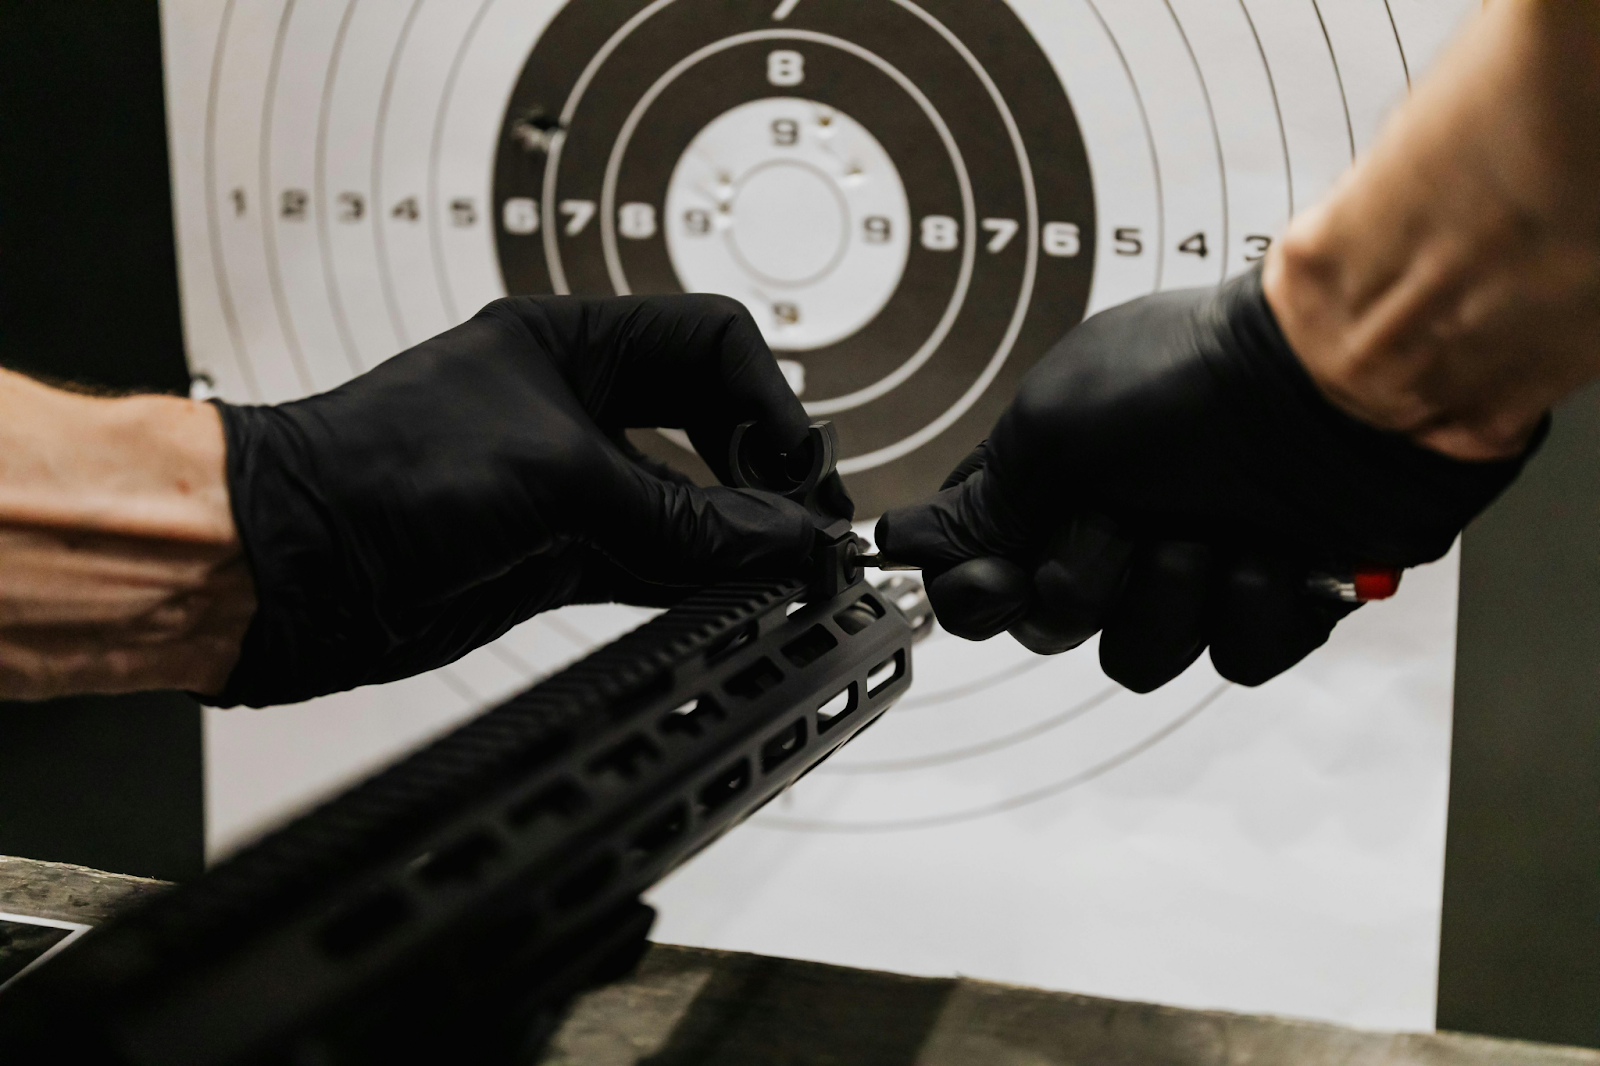
Step 4: Fire Your First Group at 25 Yards
After boresighting your rifle (if you choose to do so), load and fire three shots while keeping the rifle steady. This is known as shot grouping, and the purpose is to find out whether your shots are hitting low, high, left, or right.
- Fire three well-aimed shots while keeping the rifle steady.
- Check the target: Are the shots hitting low, high, left, or right?
- Use a ruler or target grid to determine how far the group is from the bullseye.
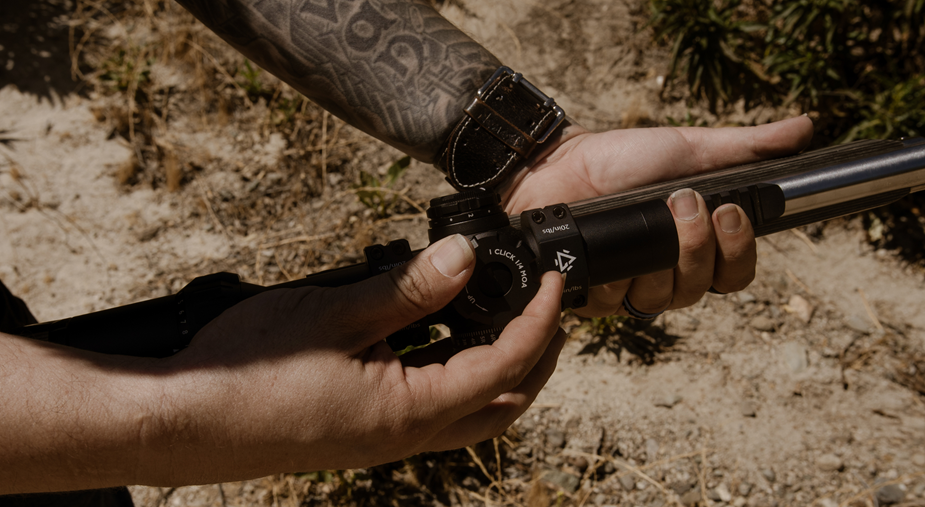
Step 5: Adjust Your Rifle Scope
To adjust a rifle scope, you must first locate the vertical (elevation) and horizontal (windage) offset. Then, to adjust the rifle scope up or down, follow these guidelines:
- To move the impact up, turn the elevation turret up/counterclockwise.
- To move impact down, turn the elevation turret down/clockwise.
- To move impact right, turn the windage turret right/clockwise.
- To move the impact left, turn the windage turret left/counterclockwise.

How to Adjust Your Rifle Scope
Most scopes adjust in MOA (Minutes of Angle) or MIL (Milliradians):
1 MOA ≈ 1 inch at 100 yards (¼ MOA = ¼ inch per click at 100 yards)
1 MIL ≈ 3.6 inches at 100 yards (0.1 MIL per click = 0.36 inches)
-
If your shots are 2 inches low and 1 inch right, for example, adjust the elevation turret up 8 clicks (for a ¼ MOA scope) and the windage turret left 4 clicks.
Then fire another group and repeat adjustments until your shots land in the bullseye.
Step 6: Confirm at 100 Yards (or Your Desired Zero Distance)
After repeating the adjustments until your shot lands in the bullseye, it is time to confirm your zero at 100 yards.
Move the Target to 100 yards. For context, 100 yards is about 90-91 meters.
Here’s how you confirm zero at 100 yards:
-
Fire a three-shot group at the center of the target.
-
Make final windage and elevation adjustments as needed.
Fine-Tune for Precision
If your rifle groups consistently but off-center, make smaller adjustments.
If your shots are inconsistent, check for shooter error, loose scope mounts, or ammo variations.
Step 7: Lock in Your Zero (Optional)
Some scopes have zero-stop features or locking turrets to prevent accidental movements. These solidify your scope and prevent it from accidentally losing zero.
-
If your scope has locking turrets, secure them in place.
-
Record your zero settings in a notebook for future reference.
Step 8: Test at Different Ranges
-
Fire at 200, 300, or longer distances to learn your bullet’s drop and wind drift.
-
Use a ballistic calculator or DOPE (Data On Previous Engagements) cards to track adjustments.
Bonus Tips
✅ Use the Same Ammo Type – Different bullets have different trajectories.
✅ Check Scope Mounts – Loose mounts can ruin accuracy.
✅ Shoot in Good Conditions – Minimize wind interference for accurate zeroing.
✅ Take Your Time – Rushing leads to inconsistent results.
Sighting in an LPVO?
An LPVO has variable magnification, so there are some key differences in the process of sighting an LPVO (Low Power Variable Optic), which is similar to a traditional rifle scope but has some key differences due to its variable magnification and intended use.
LPVOs are typically used for close-quarters and mid-range engagements (1-6x, 1-8x, 1-10x, etc.), so the zeroing distance and methodology can differ depending on your intended shooting style.
How LPVO Zeroing Differs from a Traditional Long-Range Scope
|
Feature |
LPVO (1-6x, 1-8x, 1-10x.) |
Traditional Long-Range Scope (5-25x, 6-30x, etc.) |
|
Zero Distance |
50/200 yards (common), 100 yards (precision) |
100 yards (standard) |
|
Intended Use |
CQB, mid-range, tactical, competition |
Long-range precision |
|
Magnification |
Low-to-mid range |
High magnification |
|
Holdovers |
Usually BDC reticles |
MOA/MIL-based adjustments |
|
Parallax Adjustment |
Often fixed at 100 yards |
Adjustable for different ranges |
|
Turret Adjustments |
Simple (sometimes capped) |
Exposed turrets for fine adjustments |
|
FFP vs. SFP |
Usually, SFP for fast targeting |
Commonly, FFP for long-range precision |

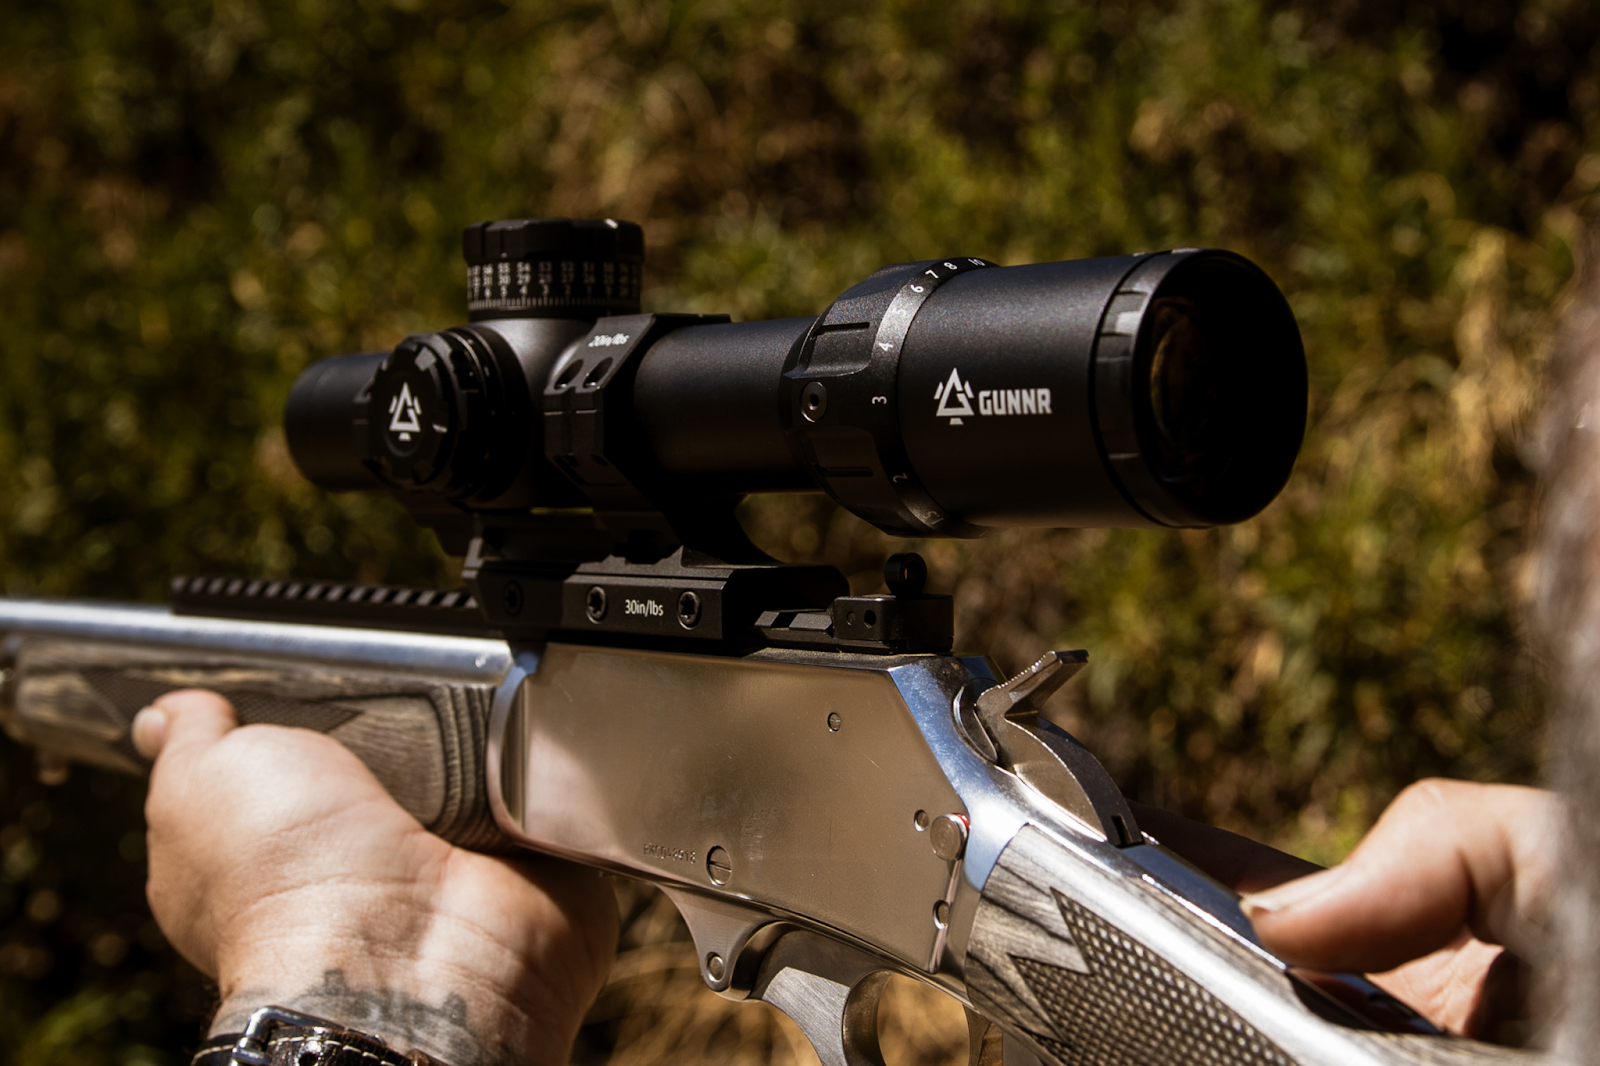
Check out Gunnr Odin LPVOs
Gogunnr is a newly launched brand of LPVO optics, and it is supplying some of the best and most affordable LPVOs this year. The Odin LPVOS line has received an immensely positive response from the shooting community.
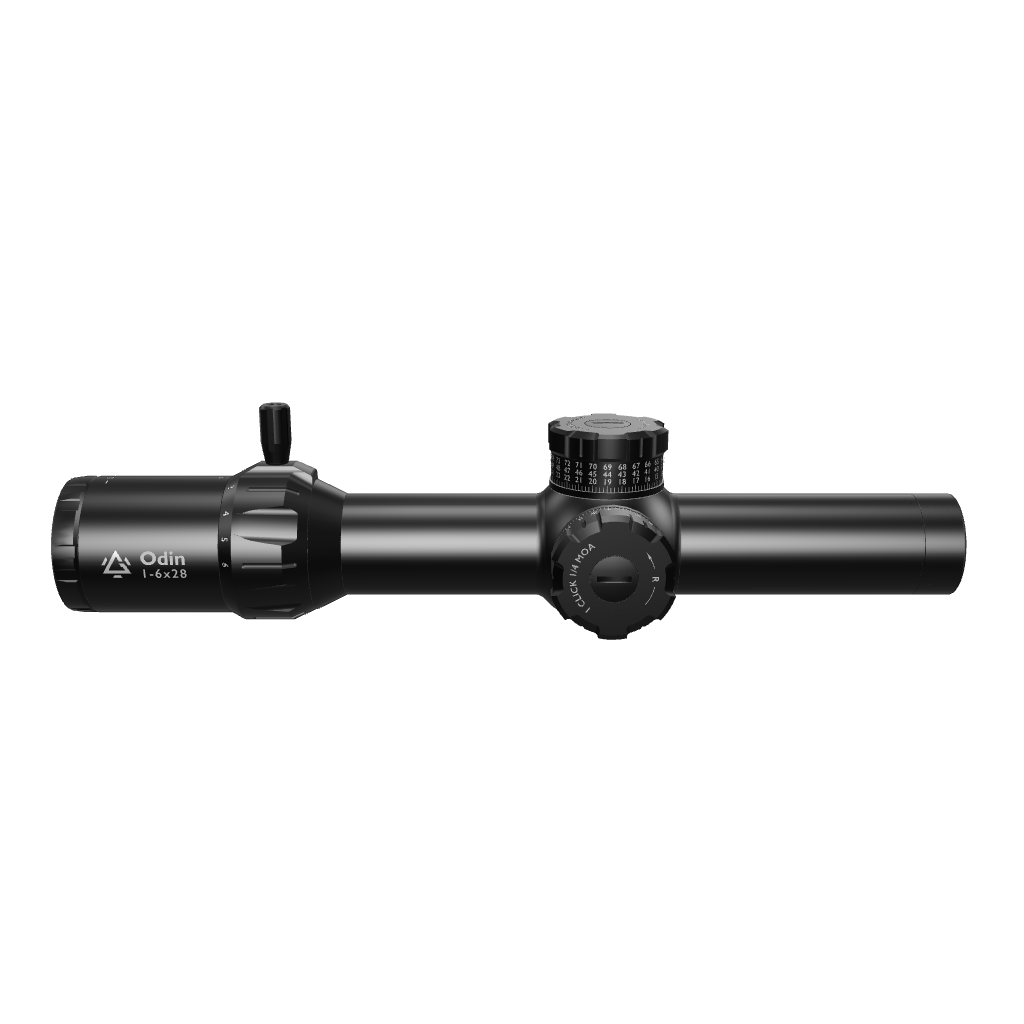
Gunnr’s LPVOs come in multiple magnification ranges. You can choose between the Odin 1-6x28, the Odin 1-8x25, and the Odin 1-10x28.
Here are some main features of Gunnr scopes that may come in handy in the field:
- The German Schott lenses are clean, acute, and clear.
- They are FFP LPVOs: suitable for most shooters.
- They are made of durable 7075 Aluminum Alloy.
- They come with locking turrets and a zero-stop feature
Then there’s Gunnr’s customer support, which is always present to respond to questions and concerns. Gunnr provides a lifetime warranty for its products, and the team is dedicated to giving you all the assistance you need in your shooting endeavors.
Final Thoughts
While the overall zeroing process is similar, an LPVO’s lower magnification and close-quarters application mean it benefits from a different zero distance (50/200 yards) and testing at different zoom levels.
Check out a more detailed guide on how to zero your LPVO scope.
If you plan to use your LPVO for tactical, defensive, or competitive shooting, dialing in the right zero for your needs ensures fast, accurate shots at both close and mid-range targets.