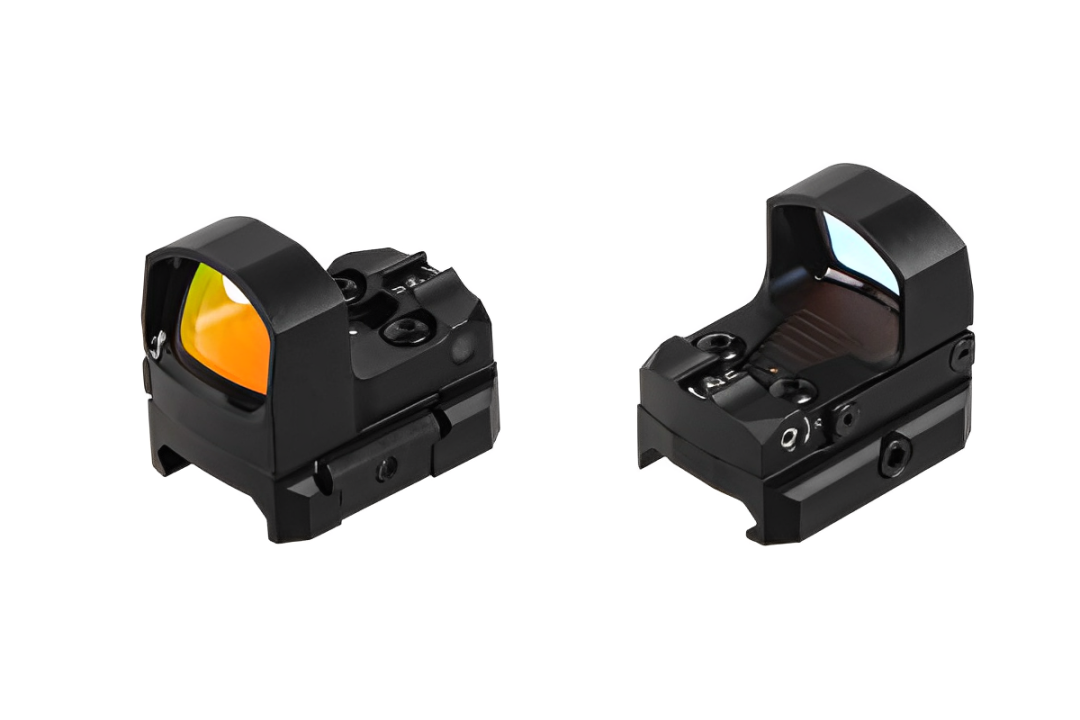
I have heard it said that it helps to think about the process of zeroing a red dot specifically as adjusting the point of impact (POI), not adjusting the red dot after it is mounted, and I totally agree.
Adjusting a red dot sight is more about working to get the rifle's Point of Impact lined up with where the dot already points using the dials they give you, than mounting the dot and getting it to be in one static place.
It is easier to understand that way, and second, that is generally how red dots are labelled and discussed. The tips and strategies in this blog will help you zero your red dot at home, at the range.
Now, we are assuming that your red dot is already set up, and you are trying to get it to hit the target.
What You’ll Need to Zero a Red Dot
Before we get started, make sure you have:
- A firearm with your red dot sight already mounted securely
- Ammunition (stick to one type while zeroing for consistency)
- A shooting bench, sandbags, or rest (to stabilize your shots)
- Paper targets (with a clearly visible bullseye or grid)
- A small tool to adjust your red dot (often a flathead or included adjustment tool)
- Eye and ear protection (always)
Step 1: Choose Your Zeroing Distance
Determining the zero distance is the first thing you learn about how to zero an optic. Before firing a single round, decide how far you want to zero your red dot.
Pick one and stick with it during the zeroing process. The distance you choose, of course, depends on your firearm and how you plan to use it:
- 25 yards – Great for pistols or home defense rifles
- 36 yards – A favorite among AR-15 users; it offers a nice ballistic balance
- 50 yards – A solid general-purpose zero for rifles
- 100 yards – Ideal for longer-range shooting, though less common with red dots due to dot size
Step 2: Fire the First Group
Set up your target at the distance you chose and take your first few shots. Fire a 3-5 shot group, aiming at the same point every time. Use your shooting rest to minimize human error.
Don’t worry if you’re not hitting the bullseye just yet—we’re just finding out where the gun is hitting in relation to your red dot.
Remember: you’re looking for a pattern, not a single shot. A group tells you how consistent your shooting is and gives you a solid average to work with when making adjustments.
Step 3: Measure Your Group and Make Adjustments
Now it’s time to see where your shots landed. Use a tape measure or ruler to measure how far the group is from your aiming point.
Are they low? High? Off to the left or right? Most red dots let you move the dot up/down (elevation) and left/right (windage) in small “clicks.”
If you are shooting low, you would adjust the PoI (Point of Impact) up, and vice versa.
Moving the Point of Impact Up/Down, Left/Right
On the average red dot sight, you do that by turning the top adjustment counter-clockwise. On an EPS carry, for example, it is labeled with the letter “U” and an arrow to indicate it shifts the PoI up in that direction.
You might see the red dot moving down, but remember that the objective of zeroing a red dot is to move the PoI to match the dot using our PoI adjusters. So, ignore the movement of the red dot and adjust the PoI around it.
Remember this: you zero a red dot by adjusting the Point of Impact (PoI).
Elevation is your vertical adjustment. On a 510c, for example, it is marked " U<-- ". The U stands for "Up," and the arrow points counter-clockwise in the direction you would adjust to have the PoI shift upwards.
Remember this: Clockwise adjustments would have the PoI shift down instead.
Moving the Point of Impact Left/Right
On the side, you have the windage (horizontal) adjustment. It is marked " R<-- ", which indicates that counter-clockwise adjustments shift the PoI right, and clockwise adjustments will shift the PoI left.
Understand MOA
If your red dot sight adjusts in 1/2 MOA increments:
- 1 MOA = 1 inch at 100 yards, 0.5 inch at 50 yards, etc.
- 1/2 MOA = 0.5 inch at 100 yards, 0.25 inch at 50 yards, etc.
Related: What is MOA?
So, for your red dot that shoots 2.5" to the left and 1" high at 25 yards, adjust the windage counter-clockwise by 20 clicks and the elevation by 8 counter-clockwise clicks.
- 1/2 MOA adjustments at 25 yards are equivalent to adjusting the PoI by 1/8". If you are off by 2.5", then you need 20 clicks to add up to 2.5".
- 1 inch off for windage, you only need 8 clicks to add up to that.
And boom! There you go!
Let’s say your group is 2 inches low and 1 inch right at 50 yards. That means you’ll want to:
- Move your elevation up 4 clicks (½ inch per click × 4 = 2 inches)
- Move your windage left 2 clicks (½ inch per click × 2 = 1 inch)
Remember: Always adjust the dot to meet the bullet—don’t chase your shots by aiming differently.
Step 4: Shoot Again and Confirm
After making your adjustments, fire another 3-5 round group. If your group has shifted in the right direction, you're on the right track.
Keep adjusting and confirming until your shots are landing right where the red dot is aimed. Repeat this process until you’re consistently hitting the bullseye or your chosen aiming point.
Again, do this with a rest if possible. The more your body needs to do anything besides squeeze the trigger, the less reliable your zero will be.
- Fire three shot groups. Take your time.
- Adjust the sight so the dot is an average of the three hits.
The closer they are together, the better the zero (and the rifle and shooter). Repeat until you're hitting what you're aiming at.
More Tips for Zeroing a Red Dot
1. Get a rough Zero, then fine-tune at the range
You can use a cheap Amazon laser boresight at home to get a rough zero at home, then fine-tune later at the range. Whatever distance is possible at your home, it could be the distance across your living room, kitchen, or a safe part of the backyard.
Going to the range is also essential. You might want to ask an RSO to take some shots to cross-check you and see if they have any input to offer.
2. Use a Boresight
I prefer using a laser bore sight, which can either be a device that sticks in the muzzle or (preferably) a "cartridge" that has a laser in it.
This will give you the bore line. Then you adjust the sight until the dots line up. This will get you pretty close, but you may have to fine-tune by shooting from a rest, not free-hand.
Having the laser boresight helps a lot for wrapping your head around what the adjustments are doing, because you have two tangible points that you can actually see moving together or apart as you make adjustments.
Boresights are great, and you will find a lot of uses for one, especially if you are just getting into shooting.
- You can consider a $50 one from Sportsman's, and it will easily save you from wasting ammo trying to get on paper.
- If you get the ones that stick on with a magnet, put masking tape on the muzzle, or it'll scratch.
3. How to Zero a red dot on an AR rifle
The AR is way easier because you don't need anything special. You just take the upper off the lower and remove the bolt carrier.
Set the upper on something stable and, looking through the barrel, point it at a target at about the right range, say 50 yards, then adjust the sight until the upper is pointing at the target.
Now this should get you "on paper" and ready to do live fire zeroing.
4. In Doubt, Go to the Shooting Range
Threat Dynamics has a nice indoor range. You can zero there at a fixed distance. You could also inquire about a 1 on 1 instruction with a trainer. Zeroing a pistol can be tough. A controlled indoor range with a nice, stable surface could help tons.
If you are going for the first time, you will need these 4 tips for shooting at a gun range.
5. Always Make Sure the Mount is Tight
Make sure the mount is tight. That will fix the inconsistent zero. I can't stress this enough. The optic attached to the slide must NOT move at all.
You might be interested:


