How to Set Eye Relief (LPVOs, Red Dots)
There are two mistakes most folks make when setting eye relief; either they rush through the entire process or mount their optic in a “good enough” spot, then try to compensate for any lapses with their shooting form.
None of these is a good idea.
Whether you're running a red dot, an LPVO, or a traditional rifle scope, getting your eye relief dialed is crucial for fast target acquisition and a clear sight picture. Do it wrong, and you will have a hard time.
Here’s a complete, step-by-step guide to setting proper eye relief and mounting your scope the right way—whether you’re at your kitchen table or out at the range.
Understand What Eye Relief Is (And What It Is Not!)
Eye relief is the distance between your eye and the rear lens of the optic: it is the ideal distance where you can get a full, clear image with no shadowing or distortion.
If you mount a standard scope too close or too far from your eye, you’ll get scope shadow, inconsistent eye-box issues, or a milky sight picture.
Worse, if it’s too close and you’re shooting something with recoil, you might get scope-bit—there have been stories of shooters (or ex-shooters) with scope-ring-shaped cuts on their eyebrows.
Here is what you must know about eye relief for different scopes:
- Most traditional scopes offer around 3.5 inches of eye relief.
- Long eye relief scopes (like scout scopes or handgun optics) extend that distance significantly.
- Extended eye relief is useful for specialty builds but not necessary for most rifles.
The Correct Way to Set Eye Relief
Here’s how to correctly set your eye relief and get it right the first time:
- Get into your natural shooting position — prone, bench, standing—whatever you use most.
- Set your scope to its highest magnification (this gives the most restrictive eyebox, so it’s the best for fine-tuning).
- Obtain your natural cheek weld and settle into a comfortable, repeatable head position.
- Start with the scope too close—right up near your eye (but don’t pull the trigger).
- Slowly move the optic rearward along the rail until all scope shadow disappears and you see a full, crisp image.
- Stop right there. That’s your sweet spot: the best eye relief.
- Check clarity: The image should have sharp, well-defined edges. If it looks soft, cloudy, or milky, you’ve gone too far.
- Mark it: Use masking tape and a marker so you can re-mount it exactly later.
What to Do When You Find the Proper Eye Relief
Once you find the sweet spot, use a feeler gauge set (you can grab one cheap on Amazon) to check that the scope is squared evenly in the mount.
Mark the rail and scope position with tape or a grease pencil before tightening everything down.
Don’t over-tighten yet—test the rifle in your main shooting positions before locking the mount permanently.
General Mounting Tips for Red Dots, Magnified Scopes, LPVOs/ACOGS
At home is one of the best places to get your initial setup dialed in. You’re not rushed, you can test different body positions, and if you follow the steps below, you’ll get a great baseline even before hitting the range.
Setting Eye Relief for a Red Dot
To ensure proper eye relief on a red dot sight, mount it as far forward on the upper receiver as possible. Red dots have unlimited eye relief, so by moving it forward, you maximize your peripheral vision and balance.
Eye Relief for Magnified Scopes / LPVOs / ACOGs
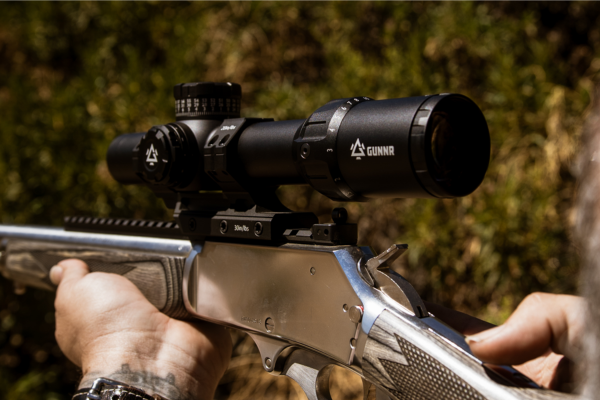
Magnified optics do have specific eye relief requirements, so proper positioning is critical. Your goal is to see the full sight picture with crisp, shadow-free edges—all while keeping your head in a natural, relaxed position.
Do this Quick Eye Relief Test
Close your eyes, shoulder the rifle naturally, and then open your eyes.
If the scope picture is misaligned, shadowed, or feels “off,” you’ll need to adjust the optic forward or backward.
LPVO & ACOG: Why Mounting Position Matters
Here is a general reference for mounting LPVOs and ACOGs that will help you ensure proper eye relief:
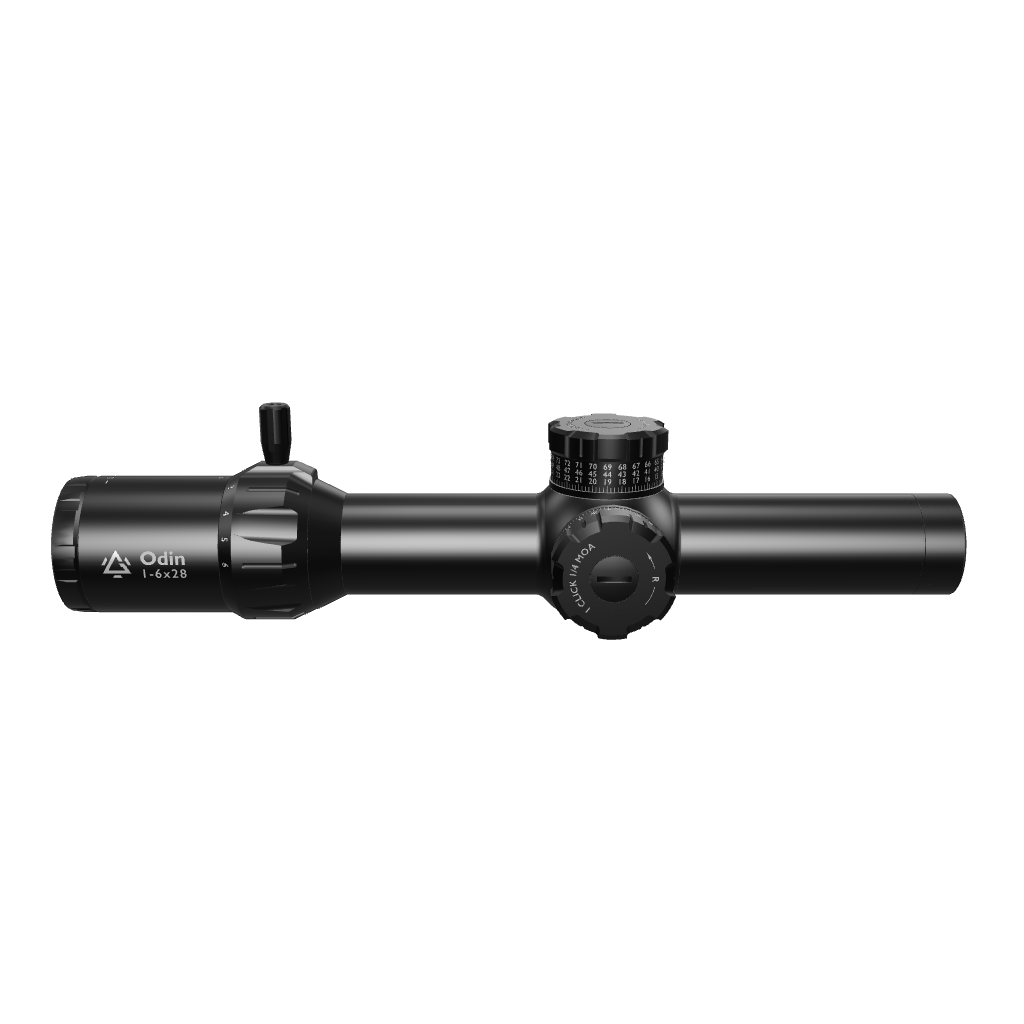
- L.P.V.O.s (Low Power Variable Optics) usually sit even with the back of the charging handle.
- ACOGs and other short eye relief scopes have tighter eyeboxes, and they typically mount slightly further back.
Testing and Fine-Tuning Eye Relief on an LPVO/ACOG
- Pick a well-lit surface to aim at (even a blank wall will do).
- Zoom in all the way, close your eyes, shoulder the rifle, open your eyes, and assess the sight picture.
- Adjust the optic in small increments until it’s perfect.
Fine-tune your setup at a 100-yard target with max zoom. This helps ensure your eye relief stays consistent at range.
Personal Factors That Affect Eye Relief
Everyone’s setup is a little different. Here are three main factors that might affect your perfect eye relief:
- Head shape and positioning
- Shooting stance
- Corrective lenses – for example, if you wear contact lenses, you might need the optic slightly farther forward.
Setting Eye Relief: Standing vs. Prone
Many shooters set their eye relief from a bench, but this can cause issues when shooting prone.
In prone, your head tends to move closer to the optic. That means a scope set up for bench shooting might give you scope shadow or even force you to crane your neck when prone.
- Set eye relief from prone, where the head position is less flexible.
- If you’re using a field-adjustable stock with a customizable length of pull (LOP), you have more room to compensate.
- Just make sure your LOP range accommodates both bench and prone positions.
Common Mistakes to Avoid When Setting Eye Relief
The most common mistake shooters (especially beginners) make when setting eye relief is random rail placement. They just throw the scope into a mount and lock it onto the rail wherever it fits. Eye relief should be set intentionally and upon careful consideration.
Make sure you follow the steps above, and avoid making the following mistakes:
1. Adjusting your body to the optic
Your natural position should dictate where the optic sits, not the other way around.
2. Setting eye relief by moving closer
Most people try to walk their eye closer until the shadow disappears, but this often lands you in a "transitional zone" where:
3. The field of view (FoV) isn't full,
The eyebox feels inconsistent, and things get worse at higher magnification.
Wrapping It Up
Your optic should work for you, not the other way around. By taking the time to set your eye relief properly, you’ll get faster target acquisition, a cleaner sight picture, and a more enjoyable shooting experience overall.
The process isn’t complicated—it just requires a bit of patience and the willingness to test. Once it’s dialed in, you’ll wonder how you ever shot without it.
You will be interested in how to mount an LPVO, and here are some recommendations for the best LPVOs (under $500) to check out this year.


